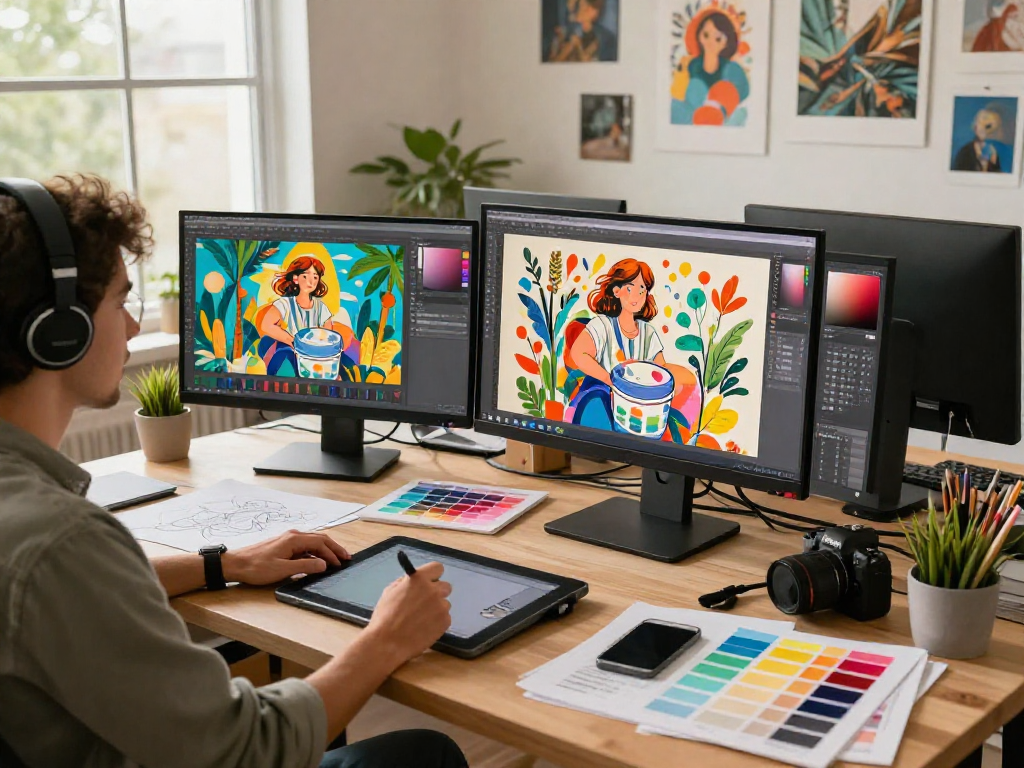
Understanding the Paint-Bucket Tool
The paint-bucket tool is a staple in the realm of digital image editing, helping artists and graphic designers swiftly fill large areas with color. This intuitive tool simplifies the process of altering images, making it accessible even for those who may not possess advanced editing skills. In 2026, with the advent of cloud-based and on-device technologies, tools like MagicPicPro have made it easier than ever to manipulate images without needing expensive software or extensive training. If you're looking to transform your designs and add vibrant colors, understanding how to use the paint-bucket tool is essential.
What Is the Paint-Bucket Tool?
The paint-bucket tool, also referred to as the fill tool, allows users to fill large areas of an image with a single color in one click. This feature is particularly useful for illustrations and graphics where solid color fills are desired. It works by targeting connected pixels of a similar color and replacing them with the selected fill color, providing a seamless transition across large areas of flat color. Whether working on illustrations, memes, or even photos, the paint-bucket tool can save time and effort.
How Does It Work for Image Editing?
Using the paint-bucket tool is straightforward: you select your desired color from a color picker, click on the area of the image you wish to fill, and watch as it floods the designated space. The tool identifies all pixels that are similar in color to the area clicked, based on a tolerance setting that can be adjusted to refine the fill. This means you can quickly alter the mood of an image by changing colors or create cohesive designs in illustrations without spending unnecessary time detailing each area.
Benefits of Using the Paint-Bucket Tool
- Speed: Rapidly fill large areas without manual effort.
- Versatility: Useful for various applications—from graphics to photo editing.
- User-Friendly: Intuitive interface accessible to users of all skill levels.
- Precision Control: Adjust tolerance settings for customized results.
Setting Up Your Workspace for Creative Efficiency
For optimal use of the paint-bucket tool, having a well-organized and efficient workspace is essential. This enhances productivity and creativity, allowing you to focus on your art rather than the tools themselves. Experts recommend creating a digital workspace that promotes seamless workflow and easy access to necessary resources.
Essential Digital Tools for Designers
Beyond the paint-bucket tool, other digital tools enhance the design process. Essential software might include image editors, vector graphic applications, and 3D modeling tools, depending on your specific needs. Integrating various tools into your workflow can help you tackle different aspects of design more efficiently.
Optimizing Your Workspace Environment
A clutter-free digital environment leads to better focus and creativity. Organizing files, using layers effectively in your design software, and having easy access to color palettes and assets can drastically improve your workflow. Setting up shortcuts for frequent actions, including those for the paint-bucket tool, can also save time.
Organizing Digital Assets for Quick Access
Keeping your fonts, textures, and images organized into folders or libraries ensures you can find what you need without wasting time. By categorizing elements based on projects or types, you can facilitate a smoother editing process, allowing you to concentrate on creativity rather than searching for resources.
Using Tolerance Settings Effectively
Tolerance settings play a crucial role in how the paint-bucket tool operates, allowing for varying degrees of fill accuracy. Grasping the concept of fill tolerance is essential for getting the most out of your editing experience.
What Is Fill Tolerance?
Fill tolerance determines the range of colors that can be considered 'similar' to the pixel you click on. A higher tolerance means adjacent pixels with a broader range of color values can be filled, while a lower tolerance restricts the fill to only colors that are very similar. This feature is vital for achieving precise control over the areas you intend to fill.
How to Adjust Fill Tolerance for Best Results
Experimentation is key when working with tolerance settings. Start by using a medium tolerance to see how it affects your fills. Subsequently, adjust upwards or downwards based on the results—lowering tolerance can help when working with images that have subtle variations in color, while increasing it can expedite filling larger areas.
Common Mistakes to Avoid with Tolerance Settings
- Using Too High Tolerance: This can lead to unwanted areas being filled, especially in images with gradients or multiple colors.
- Ignoring Subtle Variations: Always check for pixel colors that may seem similar but will react differently based on your tolerance settings.
- Not Previewing Changes: Always preview before finalizing your fill to ensure it meets your creative vision.
Practical Applications of the Paint-Bucket Tool
The paint-bucket tool is not just a feature; it's a versatile asset in your image editing toolkit. Here, we explore its practical applications to help you harness its full potential.
Filling Large Areas in Illustrations
Illustrators can greatly benefit from the paint-bucket tool for filling areas quickly, allowing them to focus on more detailed aspects of their work without spending hours on coloring in flat graphic designs. Whether you are filling backgrounds or solid shapes, the tool effectively saves time.
Creating Flat Graphics and Backgrounds
Flat design relies heavily on color to convey messages and aesthetics. The paint-bucket tool enables designers to create smooth, solid backgrounds with ease, which can be instrumental in developing modern, minimalistic designs. By selecting your desired color palette, you can quickly alter the mood of your designs.
Tips for Non-Destructive Editing
When using the paint-bucket tool, consider utilizing layers in your editing software to avoid permanently altering the original image. This approach allows for greater flexibility and preservation of the original artwork. You can fill layers separately and adjust them without the risk of losing your work.
Frequently Asked Questions
As with any tool, users often have questions about its functionality and best practices. Here are some of the most common inquiries regarding the paint-bucket tool.
Can I Undo a Fill Operation?
Yes! Most image editing tools, including MagicPicPro's paint-bucket function, allow users to undo any fill operation using the undo button or the keyboard shortcut (Ctrl+Z). This feature ensures that you can experiment freely without fear of making irreversible mistakes.
Is It Free to Use the Paint-Bucket Tool?
MagicPicPro offers the paint-bucket tool completely free of charge, with no sign-up necessary. This accessibility makes it an excellent option for both novice and experienced designers looking for a simple solution to their image editing needs.
What File Formats Support the Paint-Bucket Tool?
The paint-bucket tool supports various file formats, including PNG, JPG, WebP, and GIF. This flexibility allows users to work with diverse images and ensures compatibility with most graphics and web designs.
How Can I Save My Edited Images?
After completing your edits, saving your work is easy. Users can download their images in formats such as PNG, JPEG, or WebP, all without watermarks. This feature is particularly beneficial for professionals who want to maintain a polished and professional appearance in their work.
Where Can I Find More Resources on Image Editing?
Many resources exist online for further learning about image editing techniques. For more information, paint-bucket offers valuable insights. Websites, forums, and tutorial videos can provide insights and tips from experienced graphic designers. Engaging with communities can also help you stay updated on trends and tools in the ever-evolving digital landscape.